Ultra Marines Captain.
The Crafty Grognard
Monday, November 4, 2013
Gaming table
My attempt at a gaming table. Turned out really good:
2x2ft tiles (8 of them)
Plaster put down, modeled after the GW gaming board.
City tile.
This is what I used to model it after, it is a printout and I made a small tool to make the cracks in the wet plaster.
Covering the road parts so the plaster could be put down
Plaster complete, time to dry.
First coat down.
Base coat with sand.
Dry brush.
Finished example layout. I still had two more pieces to do so that's why the road doesn't line up.
Adventures in resin
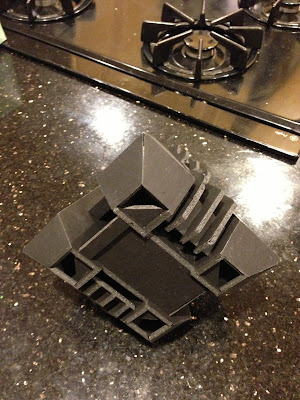
So I thought I would try my hand at resin with a kit I had ordered a few years ago. Molds were quite easy to set up,
The easiest way was to create a single mold around the part and then
have a sharp razor blade to split the mold after it had cured. Worked
great. As you can tell green stuff took care of any "bubbles"
The result:
Wednesday, August 28, 2013
Ultramarine Papercraft Rhino
This was a papercraft Rhino I finished, the only non paper is the emblem and the hatch. The colors look quite off in this picture, it is the traditional ultramarine color.
Necron Monolith WIP
This is my foamcore Monolith. We never got very interested in the necrons, but I had fun making this.
Shot from underneath
The Neverending Thunderhawk
So this is my thunderhawk WIP started in 2009. It is quite sturdy, built with 1/4" foamcore complemented by plasticard and various bits. Engines are sprinkler parts with a lego cowl.
Major components left to do are the weapons - the cannon on top and each of the winglet mounted guns. I want to add more detail with rivets, etc as well as a decent looking cockpit. It is also missing the tail and tail-engine, they are around somewhere. Pardon the dust on the engine, et al. I included a figure for relative size.
Some details on the legs, I put a lot of time into those:
And some of the secondary winglets
Subscribe to:
Comments (Atom)


